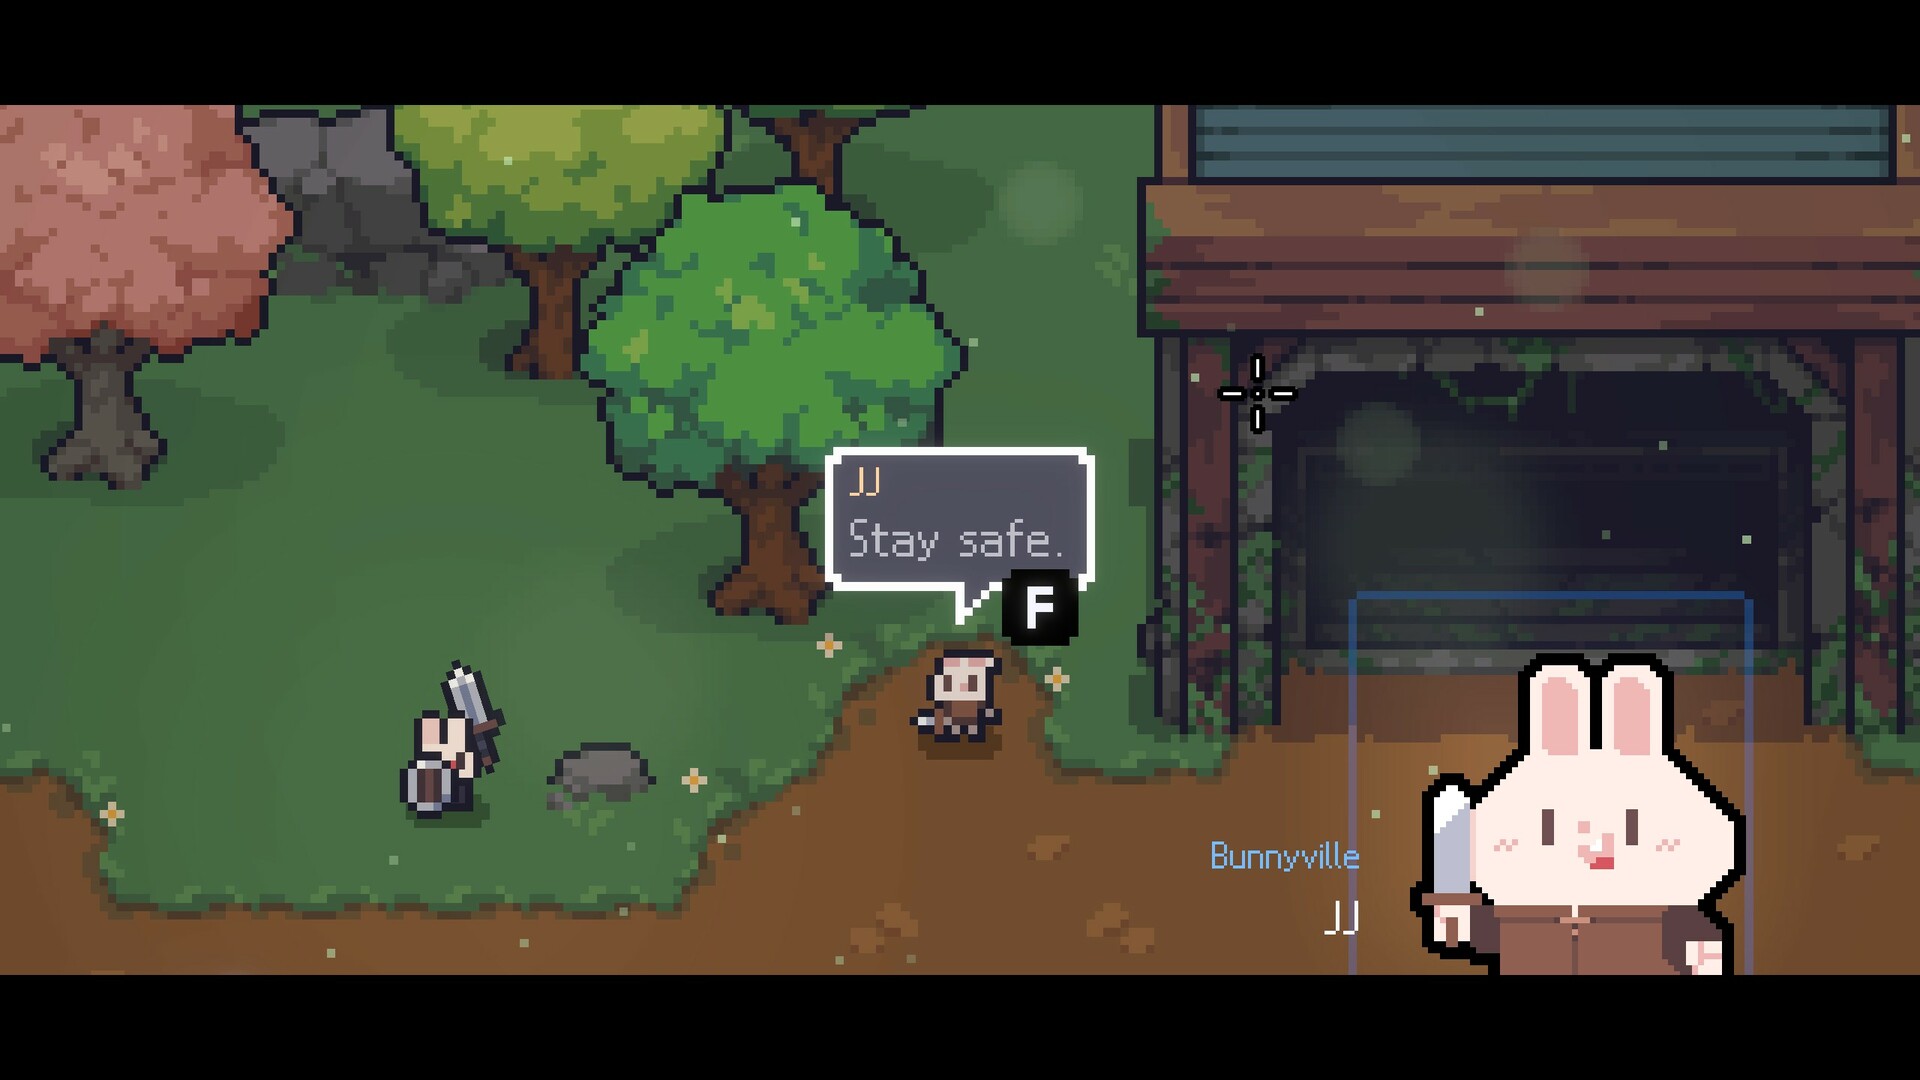
Hard Mode in Sephiria — officially called Root Decay (運命の刻印「根退き」) — is an endgame system that adds stacking challenge modifiers to your runs. You unlock it via the Destiny Inscription system using Sapphire gems. Each modifier has multiple levels that intensify the effect, and they stack as you push deeper into Hard Mode stages.
How Root Decay Works
When you activate Root Decay, modifiers are assigned based on your current Hard Mode stage. Higher stages unlock more modifier slots and higher modifier levels. You can see which modifiers are active at each stage in the table below.
Talent Points can be earned by clearing Root Decay stages — up to 20 additional Talent Points beyond the 30 from Destiny Inscriptions, for a maximum of 50 total.
Complete Modifier List
| # | Modifier | Max Level | Stages | Effect |
|---|---|---|---|---|
| 1 | Violent Claw | 7 | 1-8 | Enemy damage +8% / 16% / 24% / 32% / 40% / 48% / 56% |
| 2 | Tough Body | 7 | 1-8 | Enemy HP +15% / 25% / 35% / 45% / 55% / 65% / 75% |
| 3 | Protective Armor | 3 | 1-3 | Enemy defense +2 / +4 / +6 as stages progress |
| 4 | Swift Claw | 2 | 2-4 | Enemy movement & attack speed +20% / +35% |
| 5 | Ominous Aura | 1 | 1 | Super armor damage resistance drops from 65% to 50% |
| 6 | Combat Posture | 1 | 3 | Bosses attack more aggressively with extra techniques |
| 7 | Blood Feast | 1 | 3 | Enemies heal 15% HP on hit; bosses/minibosses heal 6% |
| 8 | False Vanguard | 1 | 2 | Minibosses become significantly stronger |
| 9 | Degeneration | 3 | 2-6 | HP recovery effects reduced by 5% / 10% / 20% |
| 10 | Severed Connections | 2 | 1-2 | Merchant negotiation power +20 / +40 |
| 11 | Machine Rebellion | 2 | 1-2 | Trap damage +100% / +200% |
| 12 | Proliferation | 2 | 1-3 | Normal enemy count +10% / +25% |
| 13 | Plunder | 2 | 2-4 | Boss tablet drops fixed to Rare / Common |
| 14 | Vertigo | 2 | 2-4 | Artifact & tablet selection lines -1 / -2 |
| 15 | Deterioration | 4 | 1-4 | HP recovery on level-up reduced by 10% / 25% / 40% / 60% |
| 16 | Tension | 1 | 1 | No potions during boss fights |
| 17 | Heavy Heart | 1 | 2 | Start with a useless, untradeable artifact |
| 18 | Protective Armor (alt) | 3 | 1-3 | Enemy defense gradually increases per stage |
Counter Strategies for Each Modifier
1. Violent Claw — Enemy Damage Up
Up to +56% enemy damage. This is the most dangerous modifier at high levels. Counter: Stack Endurance talent for defense, equip Explosion Proof Vest and damage reduction artifacts. Prioritize evasion-based builds (Swift talent) over tank builds at higher levels.
2. Tough Body — Enemy HP Up
Up to +75% enemy HP turns fights into DPS checks. Counter: Use high-burst damage builds like Plasma Judgment Staff or Sacred Jar companion. Anger talent for crit damage scaling helps. Don't pick this with Protective Armor — the combo makes enemies nearly unkillable.
3. Protective Armor — Enemy Defense Up
Gradual defense increase becomes a DPS wall around stage 4. Counter: Builds that deal elemental or true damage bypass defense. Staff builds with elemental chains are ideal. This modifier exposes builds that lack sustained DPS.
4. Swift Claw — Enemy Speed Up
+35% enemy speed makes dodging and positioning critical. Counter: Swift talent for dash invincibility frames, weapons with crowd control (Staff AoE, Crossbow freeze). Greatsword stagger chains can interrupt fast enemies.
5. Ominous Aura — Reduced Super Armor
Super armor resistance drops from 65% to 50%. Counter: Avoid builds that rely on hitting super armor enemies. Focus on elemental damage-over-time builds (burn, poison, lightning chains) that don't care about armor.
6. Combat Posture — Aggressive Bosses
Bosses gain extra attack patterns and fight more aggressively. Counter: Learn the new boss patterns in advance — practice in normal mode first. Builds with high mobility and quick burst windows work better than slow, methodical ones.
7. Blood Feast — Enemies Heal on Hit
Counter: Use builds that can deal damage without getting hit — ranged Staff, Crossbow with freeze, or Sacred Jar companion build. Avoid melee Greatsword builds that trade hits.
8. False Vanguard — Stronger Minibosses
Counter: Focus on single-target burst damage. Save your strongest artifacts and tablets for miniboss rooms. Builds with high execute or execute-adjacent mechanics excel here.
9. Degeneration — Reduced Healing
Up to 20% reduction to all HP recovery. Counter: Prioritize temporary healing items and safe positioning. Endurance talent's passive regen under 25% HP becomes valuable. Carry extra potions via Magic Workshop inscription.
10. Severed Connections — Merchant Cost Increase
Merchant negotiation power increases by 20-40, making items more expensive. Counter: Don't over-rely on merchant rerolls. Stock essential items early. Wisdom talent's free reroll helps mitigate this. Leaf economy becomes critical.
11. Machine Rebellion — Trap Damage Up
Trap damage increases by 100-200%. Counter: Learn trap locations and use safe routes. Evasion and positioning matter more than defense. Maps with heavy trap density should be approached with caution.
12. Proliferation — More Enemies
Up to +25% more normal enemies. Counter: AoE weapons like Staff shine here. Pouch of Black Tea (poison) and Chakram builds can also handle crowd control. Prioritize clearing adds before engaging elites.
13. Plunder — Weaker Boss Tablets
Boss tablet drops are capped at Rare or Common quality. Counter: Don't rely on boss tablets for your build. Rune Imprint system (via Survival talent) lets you attach permanent tablet effects to bag slots, bypassing this penalty.
14. Vertigo — Fewer Selection Lines
Artifact and tablet selection reduces by 1-2 lines.
15. Deterioration — Reduced Level-Up Healing
Up to 60% reduction in level-up HP recovery. Counter: Carry more potions. Riley's Gift inscription (start with 1 Recovery Potion) and Magic Workshop (+2 potion slots) help. Avoid builds that rely on level-up healing as sustain.
16. Tension — No Potions in Boss Fights
You cannot use potions during boss encounters. Counter: Enter boss fights at full HP. Endurance talent's revive-once mechanic provides a safety net. Builds with inherent sustain (lifesteal, regen) are strongly preferred.
17. Heavy Heart — Start With Useless Artifact
You begin each run with an untradeable, useless artifact taking up inventory space. Counter: Place the artifact in a negative/off-grid space so it doesn't affect your artifact combos. Survival talent's bag expansion gives more room to work around it.
18. Protective Armor (Alt) — Gradual Defense
Similar to modifier 3 but increases gradually per stage rather than per stage tier. Counter: Same strategy — elemental damage bypasses defense. The gradual nature means early stages are fine but late stages become a DPS check.
Recommended Modifier Loadouts by Stage
Stages 1-10 (Early Push)
Focus on low-impact modifiers: Proliferation (more enemies but manageable), Severed Connections (just costs more Leaf), Machine Rebellion (avoidable with positioning). Avoid Blood Feast and Tension until you have a sustain build.
Stages 10-30 (Mid Push)
Begin incorporating Degeneration and Deterioration — their early levels are mild. Add Violent Claw at level 1-3 if your build has strong evasion. Avoid Vertigo unless your build doesn't depend on artifact selection.
Stages 30-60+ (Endgame Push)
This is where cheese builds shine. The Plasma Judgment Staff build (see our Stage 60 Guide) is designed specifically for this range. Stack Blood Feast and Vertigo only if running the Plasma cheese — the build's damage output is so high that enemy healing doesn't matter, and artifact selection is pre-planned.
YouTube: Hard Mode Stage 60 Cheese Build
See the Plasma Judgment Staff build in action — the premier Hard Mode Stage 60 strategy:
The video above shows the complete Stage 60 run using the Plasma Judgment Staff build with Magma Orb, Thundercloud Compass, and Oink Shaman's Necklace. The preset code is available in the video description.
Game data sourced from the Japanese Sephiria wiki (wikiwiki.jp/sephiria) and community gameplay. Game images © TEAM HORAY. Used under fair use for fan guide purposes.